Russian Imperial Stout Recipe

Russian Imperial Stout (20 Litres)
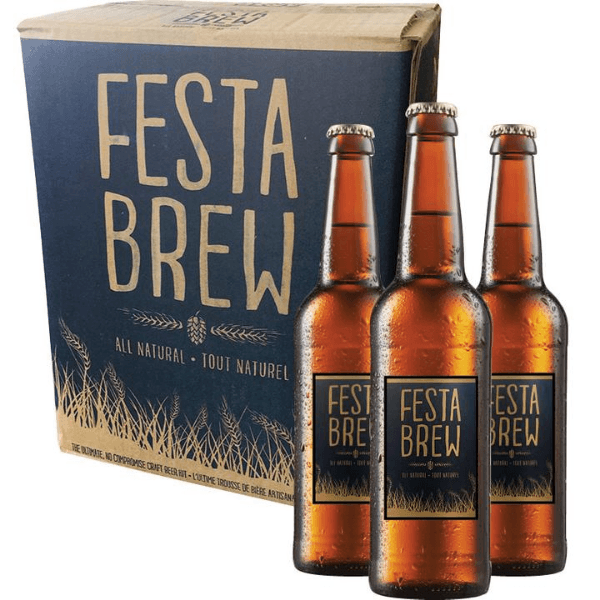
Russian Imperial Stout (RIS), also known as Imperial Stout, was so named from the circumstances of the time. In the 18th century, strong stouts and porters were exported from England to a number of Northern European countries. The high level of alcohol evolved out of necessity as this prevented the brew from freezing when in transit. This style of stout was especially popular in Russia, particularly with the Imperial Court and became so named “Russian” or “Imperial” Stout. RIS continued to be exported to the Baltic region right up to the start of World War I. RIS is an excellent beer to watch develop for several years with bottle age . When young it may be strongly alcoholic with powerful roasted character and a very bitter finish. With years of age, the alcoholic and roasted characters meld together and the bitterness softens to produce Madeira like characters. Generally, RIS carries less fizz and should be served at about 15°C. This style of beer should appeal to anybody who likes aged fortified wine or dark fruitcake. This brew is a serious stout, intensely dark, high in alcohol, syrupy, bittersweet with excellent aging potential. Fermentation of this brew requires the capacity for controlling ample foam – a good reason to get the new DIY Beer Kit!
Ingredients
- 1.7kg Coopers Stout
- 1.7kg Coopers Dark Ale
- 1.7kg Coopers Lager
- 1kg Dextrose Corn Sugar
- 1kg Dextrose Corn Sugar (priming sugar)
A Few Important Points:
- Fermentation activity is “volcanic” so be prepared. Ferment in the DIY Beer Kit vessel or a 40 to 60 litre vessel.
- If not using the DIY Beer kit vessel, a second vessel should be on hand for racking the brew on day 3 of the ferment, this can be a normal 30 litre fermenting vessel.
-This brew requires sturdy glass bottles suitable for home brewing and long term storage.
Features:
- Colour: Black
- Body: Heavy
- Bitterness: High
- Approx. Alcohol Level: 9.2% ABV
- Naturally Carbonated: Natural
Instructions:

STEP 1: Mix
Prior to mixing the brew, rehydrate the 3 sachets of yeast by adding to 250ml of tepid water, stir to make a creamy mix, cover with cling-wrap and sit for 15 to 30mins. Add the contents of the 3 beer kits and the dextrose to the fermenting vessel and dissolve with 4 litres of hot water. Add cold water up to the 20 litre mark and stir vigorously. Note: The brew should start at about 18C so 5 to 10 litres of refrigerated water may be required to hit this temperature. Add the creamed yeast and stir vigorously. Fit the Krausen Kollar and lid then secure them together with the lid clips. Try to ferment as close to 18C as possible.

STEP 2: Brew
Once the foam has collapsed back into the brew, remove the Krausen Kollar and Lid for cleaning and refit the lid for the remaining ferment time, around 6 to 9 days.

STEP 3: Bottle
Fermentation has finished once the specific gravity is stable over 3 days. Expect the Final Gravity (FG) to be quite high - around 1022. Bottle the brew with a lower priming rate than usual, 4g-6g per litre (1 carbonation drop per 750ml bottle).

STEP 4: Enjoy!
Store the bottles at or above 18C for at least two weeks to allow the secondary fermentation to take place. Allow to condition for at least 3 months in the bottle. Expect the alcohol content to be in the range of 9 to 10% ABV. Monitor the brew’s development over the years by tasting a bottle from time to time.


Leave a comment